Let's be honest—finding the perfect image for your blog post is frustrating. You spend hours scrolling through stock photo sites, only to end up with the same overused business handshake or laptop-on-coffee-shop-table image everyone else uses.
What if you could create unique, professional blog graphics in minutes—without any design skills? That's exactly what AI image tools let you do in 2026.
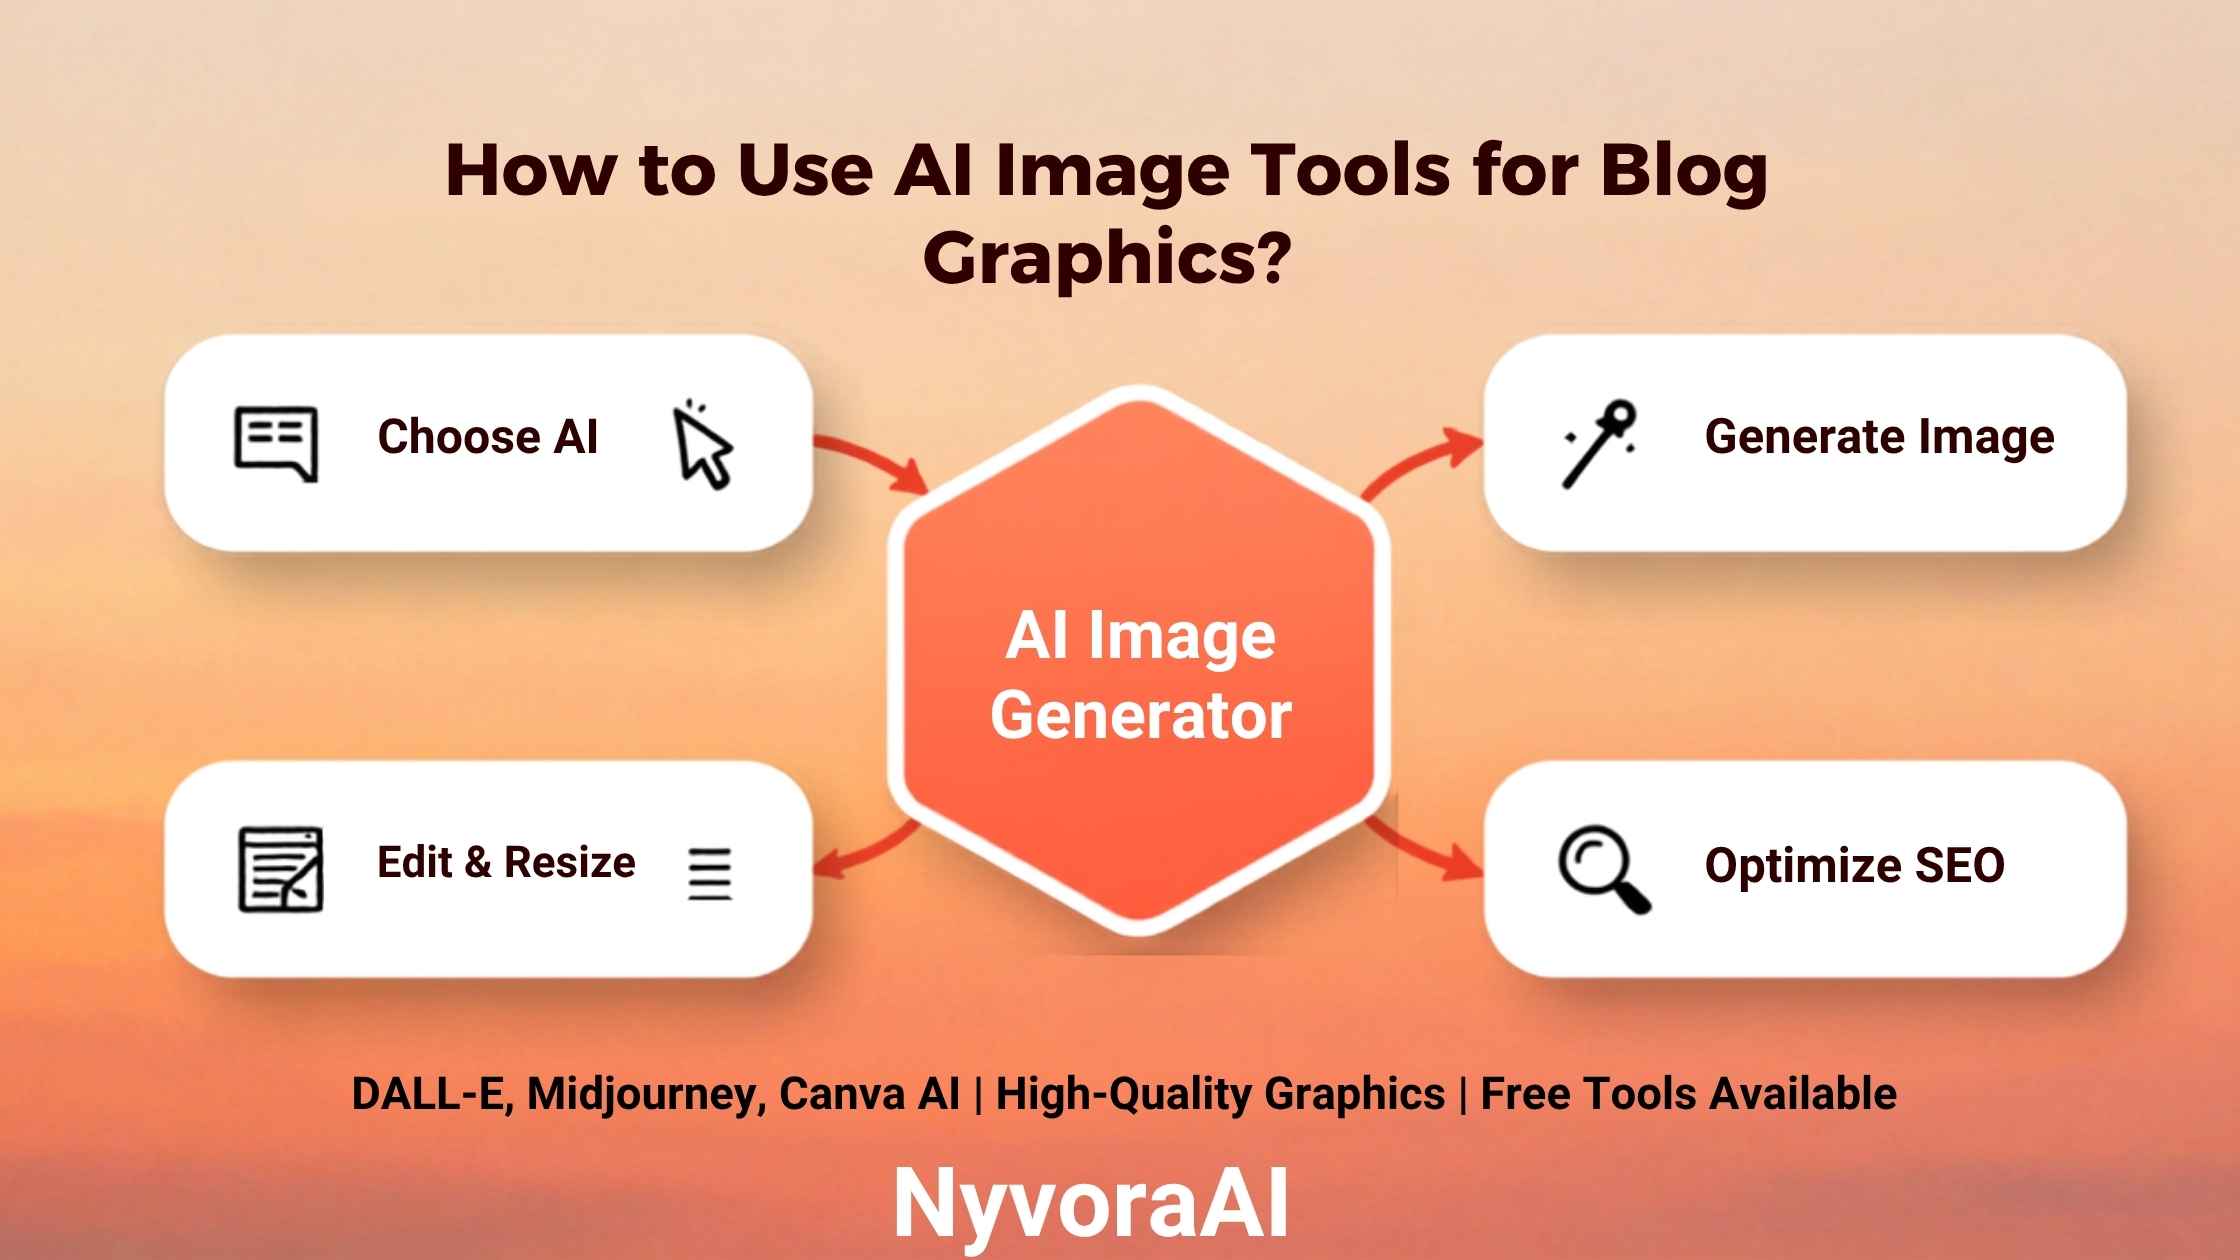
In this guide, I'll show you exactly how to use AI image tools for blog graphics. We'll cover the best free and paid tools, how to write prompts that actually work, and how to optimize your AI-generated images for maximum impact (and SEO).
- AI image tools can create blog graphics 100x faster than traditional design
- Free tools like Leonardo.ai and Bing Image Creator are powerful enough for most bloggers
- Good prompts include: subject, style, composition, lighting, and color palette
- Always check licensing terms—some free tools restrict commercial use
- Optimal blog image size: 1200x630px for featured images, 1000px wide for in-post
01Why Use AI Image Tools for Blog Graphics?
Traditional blog graphics require either expensive designers, time-consuming DIY work in Photoshop, or generic stock photos. AI changes everything:
- Cost: $50-500 per image (designer)
- Time: 2-5 days turnaround
- Uniqueness: Limited stock photos
- Control: Dependent on designer availability
- Revisions: Additional cost per round
- Cost: Free to $30/month
- Time: 30 seconds per image
- Uniqueness: 100% original every time
- Control: Instant iterations
- Revisions: Unlimited & free
But here's what most guides won't tell you: AI images aren't just about saving money. They're about brand consistency. When you create all your graphics with AI, you can maintain the same style, color palette, and aesthetic across every blog post—something nearly impossible with stock photos.
Plus, if you're creating content in multiple languages (like when you translate documents using AI), AI images let you create culturally appropriate visuals for each market without hiring local photographers.
02Best AI Image Tools for Blog Graphics (Tested)
I've tested dozens of AI image generators. Here are the ones that actually deliver for blog graphics:
Generates stunning, high-quality images with 150 free credits daily. Excellent for blog graphics with consistent style.
- 150 free credits/day (~75 images)
- Image-to-image generation
- Custom model training
- Commercial use allowed
- Web & mobile apps
Integrated into Canva's design platform. Perfect if you want to generate images and add text/graphics in one place.
- 50 free generations
- Built-in design tools
- Blog templates included
- Team collaboration
- Pro: $12.99/month
Industry-leading image quality and artistic capability. Steeper learning curve but unmatched results for creative blogs.
- Exceptional image quality
- Advanced style control
- Active community
- Discord-based interface
- $10-120/month
Trained on Adobe Stock images, making it the safest choice for commercial blog graphics. Integrates with Photoshop.
- Commercial use guaranteed
- Trained on licensed content
- Generative fill & recolor
- Adobe ecosystem integration
- $4.99-49.99/month
Powered by DALL-E 3. Completely free with Microsoft account. Great for quick blog graphics with natural language prompts.
- 100% free
- DALL-E 3 technology
- Natural language understanding
- Fast generation
- Microsoft account required
Generate up to 500 images daily on free tier. Great for testing different styles and concepts before committing.
- 500 free images/day
- Multiple AI models
- Advanced filters
- Image editing tools
- Pro: $15/month
Pro Tip
Start with Leonardo.ai or Bing Image Creator (both free). Once you understand prompting, upgrade to Midjourney or Adobe Firefly for commercial work. Many professional bloggers use 2-3 tools depending on the project.
03Getting Started: Your First AI Blog Graphic
Let's create your first AI-generated blog graphic. I'll walk you through the exact process:
Choose Your Tool
For this tutorial, we'll use Leonardo.ai (free). Sign up at leonardo.ai with Google or email. You'll get 150 credits immediately—enough for ~75 images.
Set Image Dimensions
Click "Image Generation" and set dimensions to 1200x630px (ideal for blog featured images and social sharing). This prevents awkward cropping later.
Write Your Prompt
Be specific! Instead of "business meeting," try: "Modern diverse team collaborating in bright minimalist office, natural lighting, professional photography style, blue and white color scheme, wide angle shot."
Generate & Refine
Click generate. Review the 4 variations. Don't like them? Refine your prompt or click "Image Guidance" to upload a reference image for style consistency.
Download & Optimize
Download your favorite as PNG. Use TinyPNG or Squoosh to compress it (aim for under 200KB for fast page loads). Add alt text before uploading to your blog.
This workflow is similar to how you'd use AI to write product descriptions—start with a clear brief, iterate based on results, and optimize for your platform.
04Writing Perfect Prompts for Blog Graphics
The difference between a mediocre AI image and a stunning one? Your prompt. Here's the formula I use for every blog graphic:
The Prompt Formula:
Subject + Style + Composition + Lighting + Color + Quality
Prompt Templates for Common Blog Types:
Technology Blog:
"Futuristic holographic interface displaying data analytics, dark background with neon blue accents, cyberpunk aesthetic, digital art style, wide angle, blog featured image, 1200x630px"
Business/Finance Blog:
"Growth chart arrow pointing upward on clean white background, minimalist business illustration, green and blue gradient, professional corporate style, flat design, suitable for blog header"
Lifestyle Blog:
"Cozy reading nook with books and coffee, warm golden hour lighting, hygge aesthetic, soft pastel colors, lifestyle photography style, inviting and peaceful atmosphere, blog post featured image"
Health & Wellness:
"Fresh colorful smoothie bowl with fruits and granita, top-down view, bright natural lighting, health food photography, vibrant colors, clean eating aesthetic, Instagram-worthy presentation"
Advanced Tip
Use negative prompts to exclude unwanted elements. In Leonardo.ai, add: "no text, no watermark, no blurry, no distorted, no extra fingers, no ugly" to improve quality. This is similar to using Perplexity AI vs Google for research—specificity gets better results.
05Optimizing AI Images for Blog Performance
Creating the image is only half the battle. Here's how to optimize AI-generated graphics for your blog:
Size & Format:
- Featured Images: 1200x630px (OG image standard for social sharing)
- In-Post Images: 1000-1200px wide (maintains quality on retina displays)
- Pinterest Pins: 1000x1500px (2:3 ratio performs best)
- Format: Use WebP for 30% smaller files than PNG, or JPEG at 80% quality
Compression:
AI images can be large (2-5MB). Compress them before uploading:
- TinyPNG: Free, drag-and-drop, maintains quality
- Squoosh: Google's tool, advanced controls
- ShortPixel: WordPress plugin, automatic optimization
SEO Optimization:
- File Name: Use descriptive names like "ai-image-tools-blog-graphics-guide.png" not "image001.png"
- Alt Text: Describe the image AND include your keyword naturally. Example: "AI-generated blog graphic showing modern workspace with laptop and analytics dashboard"
- Image Title: Add a title attribute for tooltips
- Caption: Use captions to add context and keep readers engaged
Proper optimization is crucial when you're using AI to improve your resume or any professional content—slow images hurt user experience and SEO rankings.
06Licensing & Commercial Use: What You Need to Know
This is critical: not all AI-generated images are free to use commercially. Here's what to watch for:
- Adobe Firefly (all plans)
- Shutterstock AI Generator
- Midjourney (paid plans)
- Leonardo.ai (paid plans)
- Canva Pro (with subscription)
- Leonardo.ai (free tier: personal use)
- Playground AI (free: limited commercial)
- Bing Image Creator (personal use only)
- Stable Diffusion (depends on model)
- DALL-E 3 (check OpenAI terms)
Key Licensing Rules:
- Free tiers often restrict commercial use—upgrade if you monetize your blog
- Attribution requirements—some tools require crediting the AI
- Trademark concerns—don't generate images of branded products or celebrities
- Model releases—AI-generated people don't need model releases (usually)
- Copyright status—US Copyright Office says AI images can't be copyrighted (yet)
When in doubt, use Adobe Firefly or Shutterstock AI—they're trained on licensed content and provide commercial indemnification.
07Advanced Techniques for Pro Results
Ready to level up? Here are advanced techniques I use for client work:
1. Image-to-Image Generation
Upload a reference image to guide the AI. Perfect for maintaining brand consistency across multiple blog posts. Use this when creating a series or when you need images that match your existing brand aesthetic.
2. Custom Model Training
Tools like Leonardo.ai let you train custom models on your own images. Upload 10-20 images in your brand style, and the AI learns to generate new images that match perfectly. This is game-changing for brand consistency.
3. Batch Generation
Create 20-30 variations of the same concept, then pick the best. Much faster than generating one at a time. Great for A/B testing featured images on social media.
4. Combining AI with Traditional Design
Generate the base image with AI, then add text, logos, and graphics in Canva or Photoshop. This hybrid approach gives you AI speed with design precision. It's similar to how you'd create a chatbot for your website—combine AI efficiency with human oversight.
5. Creating Image Series
Use the same seed number and prompt structure to create cohesive image sets for multi-part blog series. This creates visual consistency that keeps readers engaged across multiple posts.
By the Numbers
Blog posts with custom images get 94% more views than text-only posts. AI-generated images perform just as well as stock photos in engagement metrics, but cost 95% less and are 100% unique.
08Creating a Sustainable AI Graphics Workflow
Here's my exact workflow for creating blog graphics at scale:
Weekly Content Batch:
- Monday: Plan all blog posts for the week. Write prompts for each featured image.
- Tuesday: Generate all images in one session (Leonardo.ai batch mode).
- Wednesday: Review, refine, and download final selections.
- Thursday: Compress and optimize images, add alt text.
- Friday: Upload to WordPress/media library, tag and categorize.
This system lets me create 4-5 blog posts worth of graphics in about 3 hours—work that would take 20+ hours with traditional design or stock photo hunting.
If you're learning a new language and want to use AI tools for learning a language, you can even create visual vocabulary cards with AI-generated images tailored to your learning style.
09Frequently Asked Questions
What are the best free AI image tools for blog graphics?
Do I need design skills to use AI image tools?
Can I use AI-generated images commercially?
What size should blog graphics be?
How do I make AI images look less artificial?
Can AI image tools create images of specific people or brands?
10Conclusion: Start Creating Unique Blog Graphics Today
Here's the truth: AI image tools aren't replacing designers—they're democratizing design. You no longer need a $5,000 budget or a design degree to create stunning blog graphics.
Start with free tools like Leonardo.ai or Bing Image Creator. Practice writing better prompts. Within a week, you'll be creating images that would have cost hundreds of dollars just months ago.
The bloggers winning in 2026 aren't the ones with the biggest budgets—they're the ones who leverage AI to create unique, on-brand visuals at scale. That can be you.
Your next blog post deserves better than the same old stock photos. Give it the unique, eye-catching graphics it deserves. Your readers (and your engagement metrics) will thank you.